How Professional Installation Prevents Car Tint Bubbling and Peeling
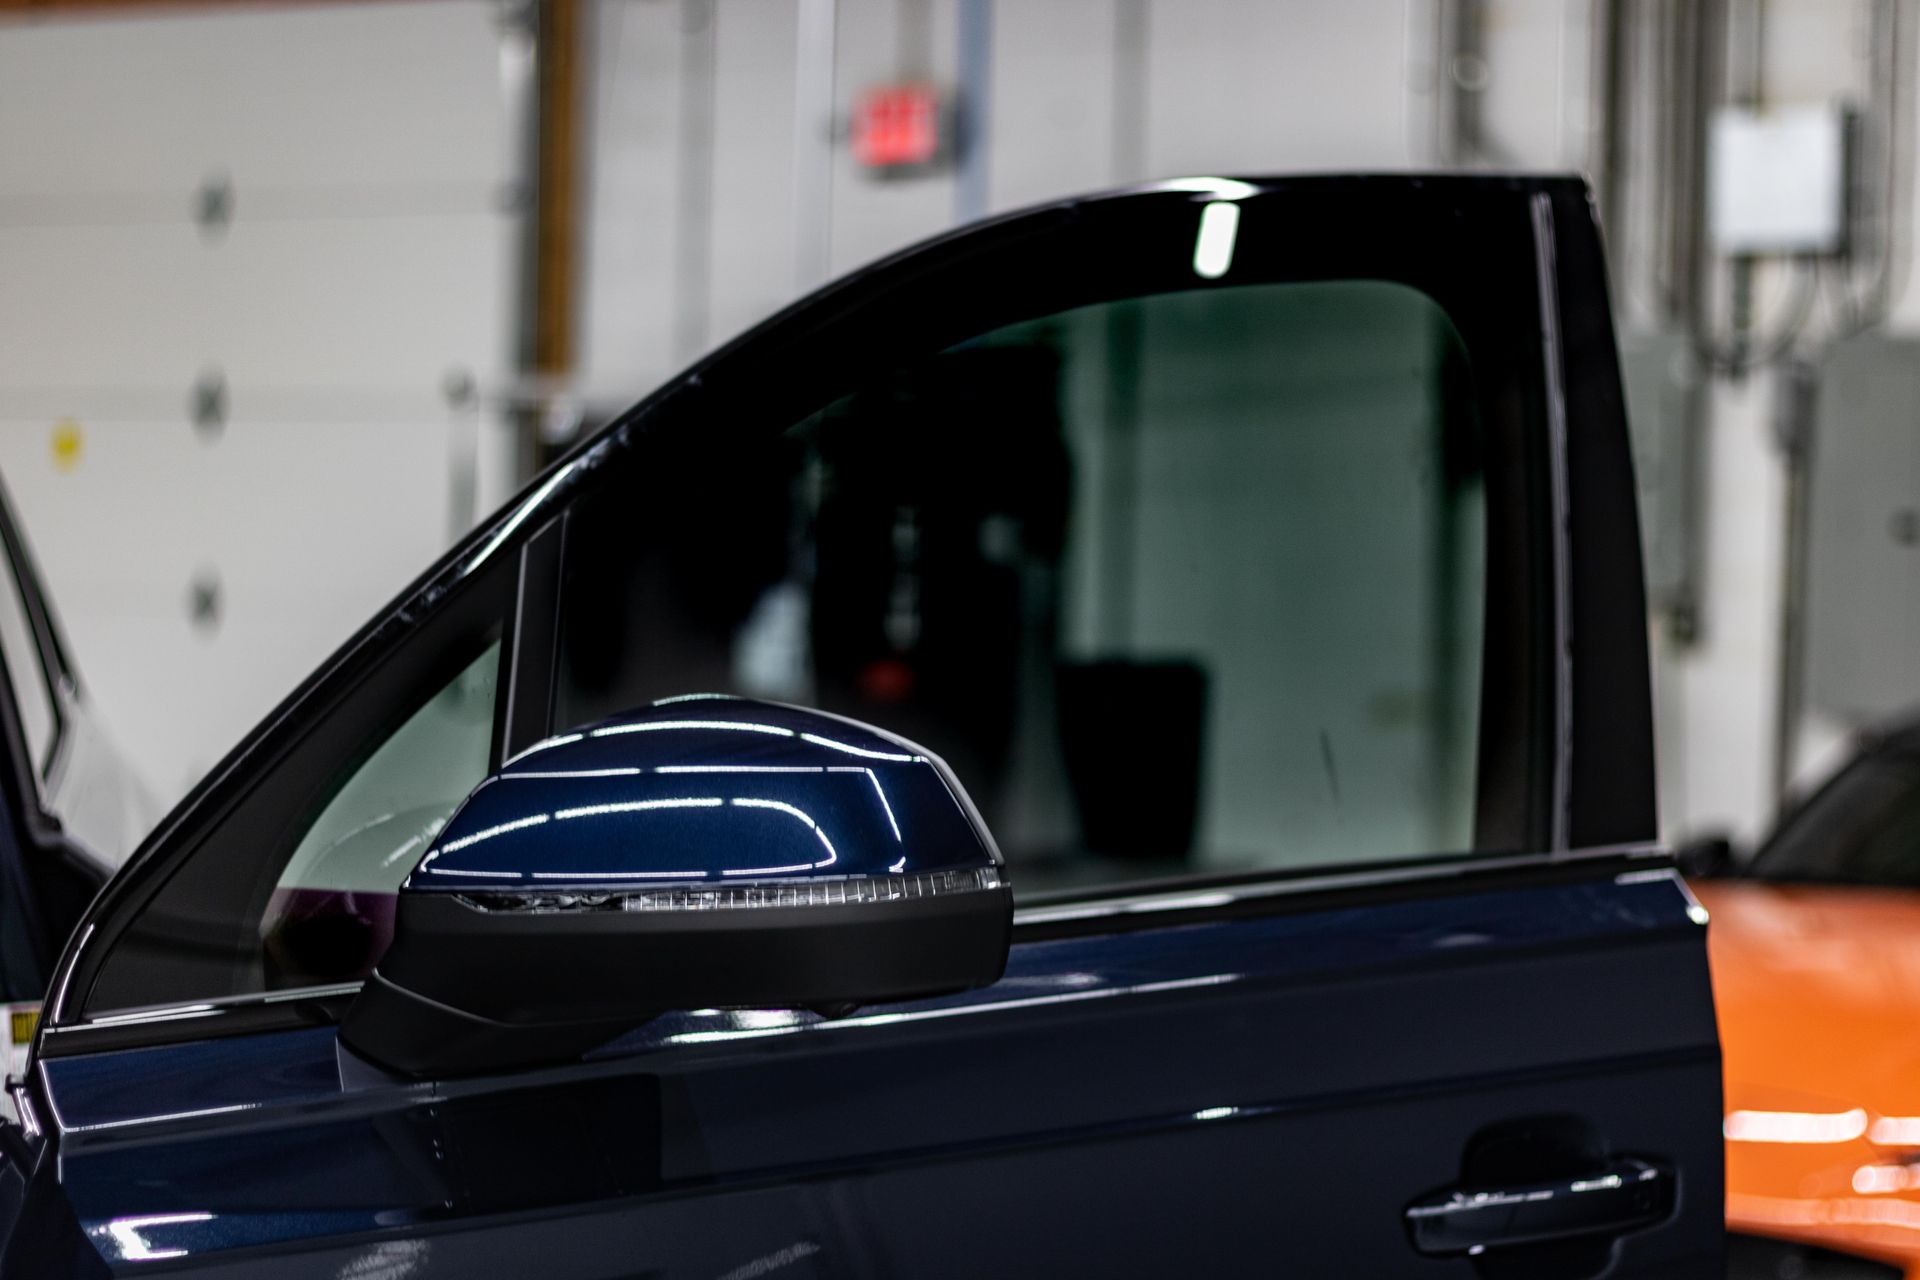
You've seen it on countless vehicles around Missouri—window tint that looks diseased. Bubbles forming along edges, film peeling away from glass, and that embarrassing purple fade that screams "cheap installation." These problems aren't just cosmetic nightmares; they're expensive reminders of what happens when tint installation goes wrong.
The frustrating part? These issues are completely preventable when you understand what causes them and how proper installation techniques eliminate the risk. After installing thousands of square feet of window film, we've learned that preventing car window tint bubbling comes down to three critical factors: preparation, materials, and technique.
Here's what most people don't realize—tint failure isn't usually a product problem; it's an installation problem. The difference between tint that lasts decades and tint that fails within months often comes down to details that happen before the film ever touches your windows.
Understanding What Causes Tint Bubbling and Peeling
Tint bubbling and peeling don't happen randomly—they're the result of specific installation failures that create weak points in the film's adhesion to glass. Most bubbling occurs when moisture or contaminants get trapped between the tint film and the window surface during installation.
The adhesive system in quality window tint is designed to create a molecular bond with clean glass. When that glass isn't properly prepared, or when installation happens in poor environmental conditions, the adhesive can't form the strong, uniform bond it needs. Instead, you get areas where the film is barely hanging on, just waiting for temperature changes to create bubbles.
Peeling typically starts at the edges where the film meets the window frame. If the installer doesn't properly seal these edges or cuts the film incorrectly, moisture can work its way under the tint. Once water penetrates the adhesive layer, it spreads, causing the film to lose adhesion and eventually peel away completely.
Why Surface Preparation Makes or Breaks Installation
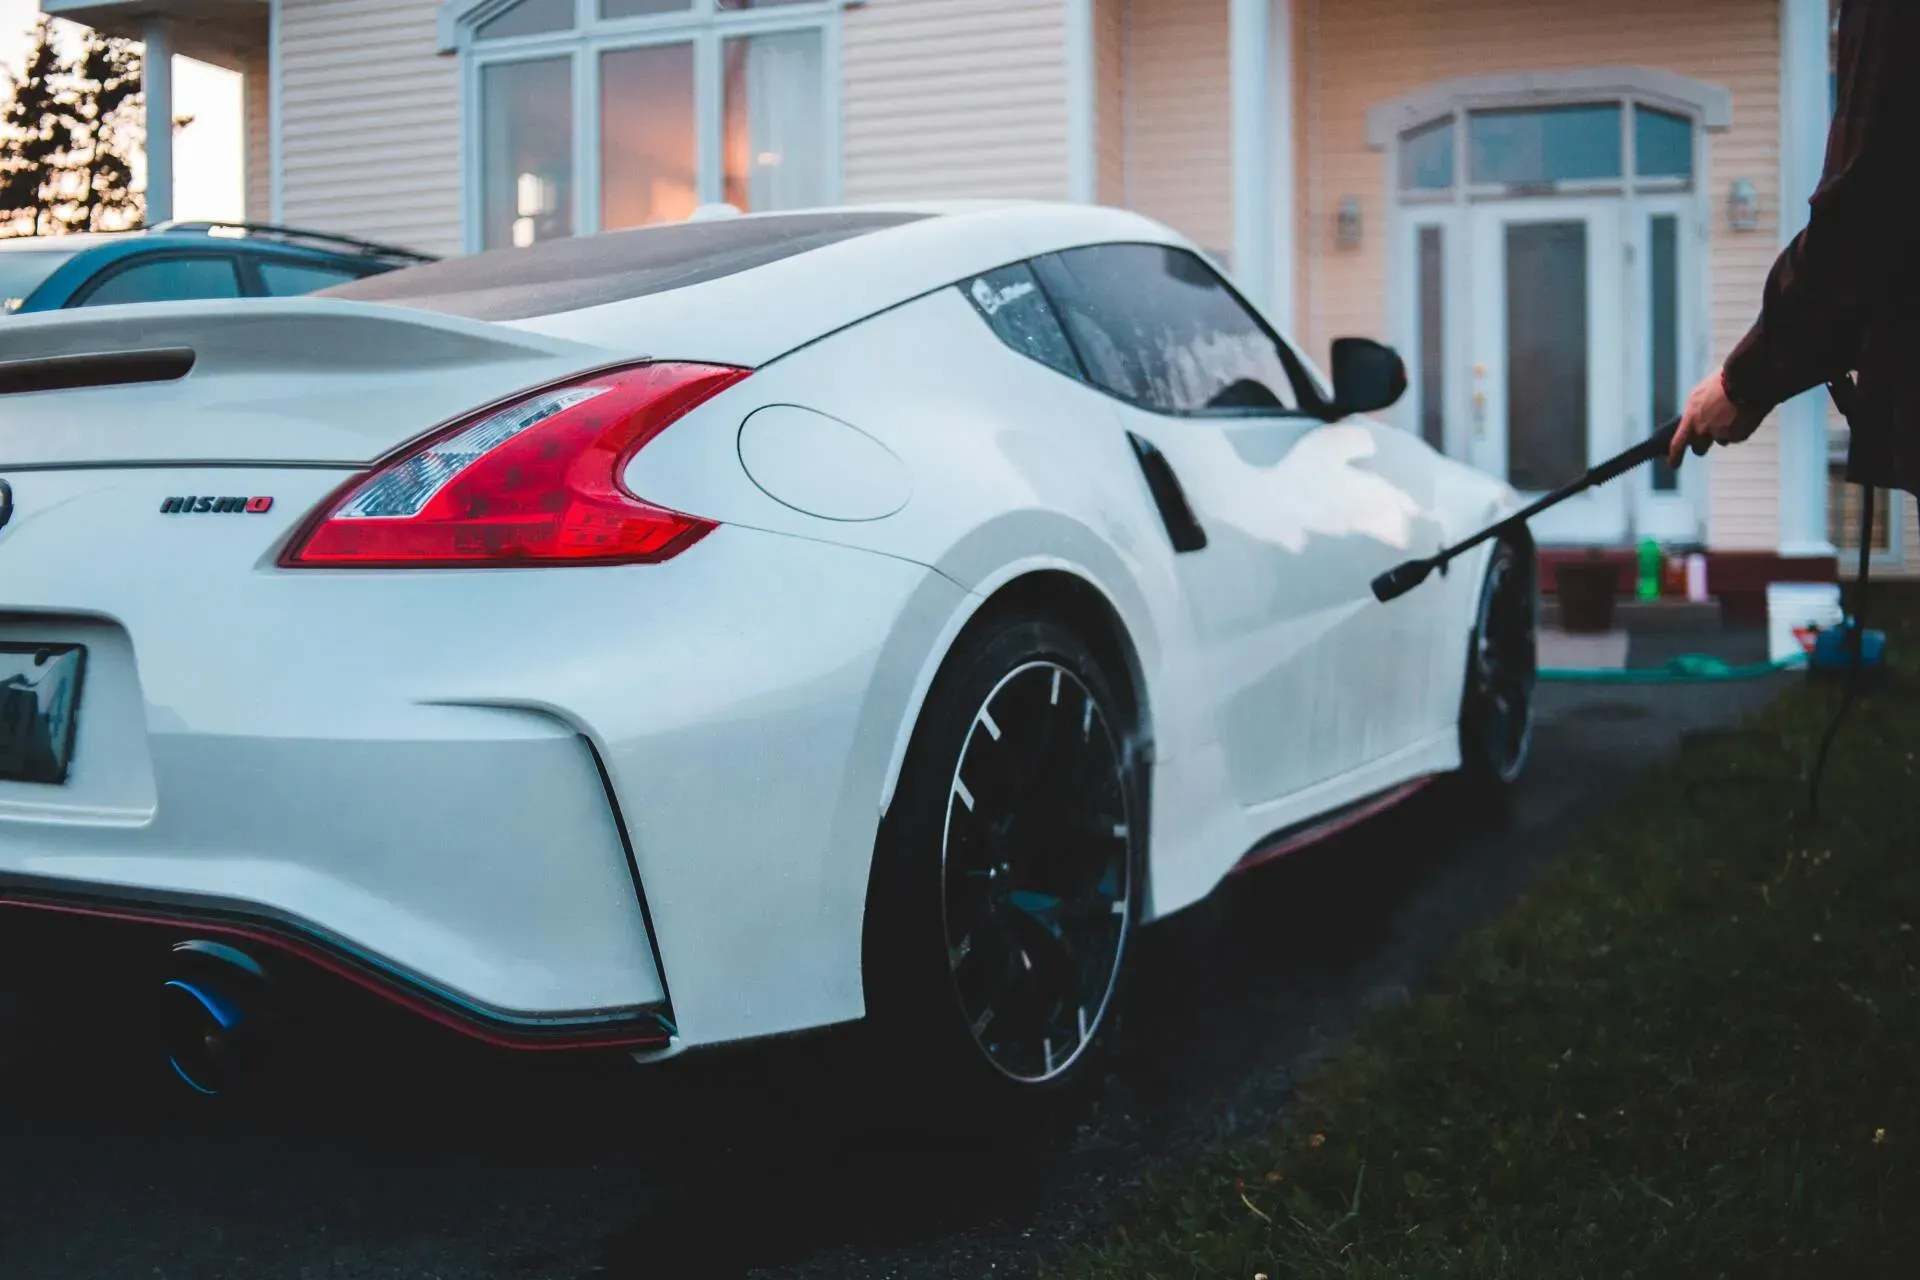
This is where most DIY jobs and cheap installers fail spectacularly. Proper surface preparation isn't just cleaning windows with glass cleaner—it's a multi-step process that removes every trace of contamination that could interfere with adhesion.
Professional preparation starts with removing all existing adhesive residue, factory films, and even microscopic contaminants that aren't visible to the naked eye. We're talking about soap residue from car washes, silicone from detailing products, and even fingerprint oils that can create adhesion problems.
The glass must be perfectly clean at a molecular level. Professional installers use specific cleaning solutions and techniques that remove contaminants that regular glass cleaners leave behind. Every surface gets inspected under proper lighting to ensure there are no missed spots, lint, or debris that could create bubbles later.
How Quality Adhesives and Materials Prevent Failure
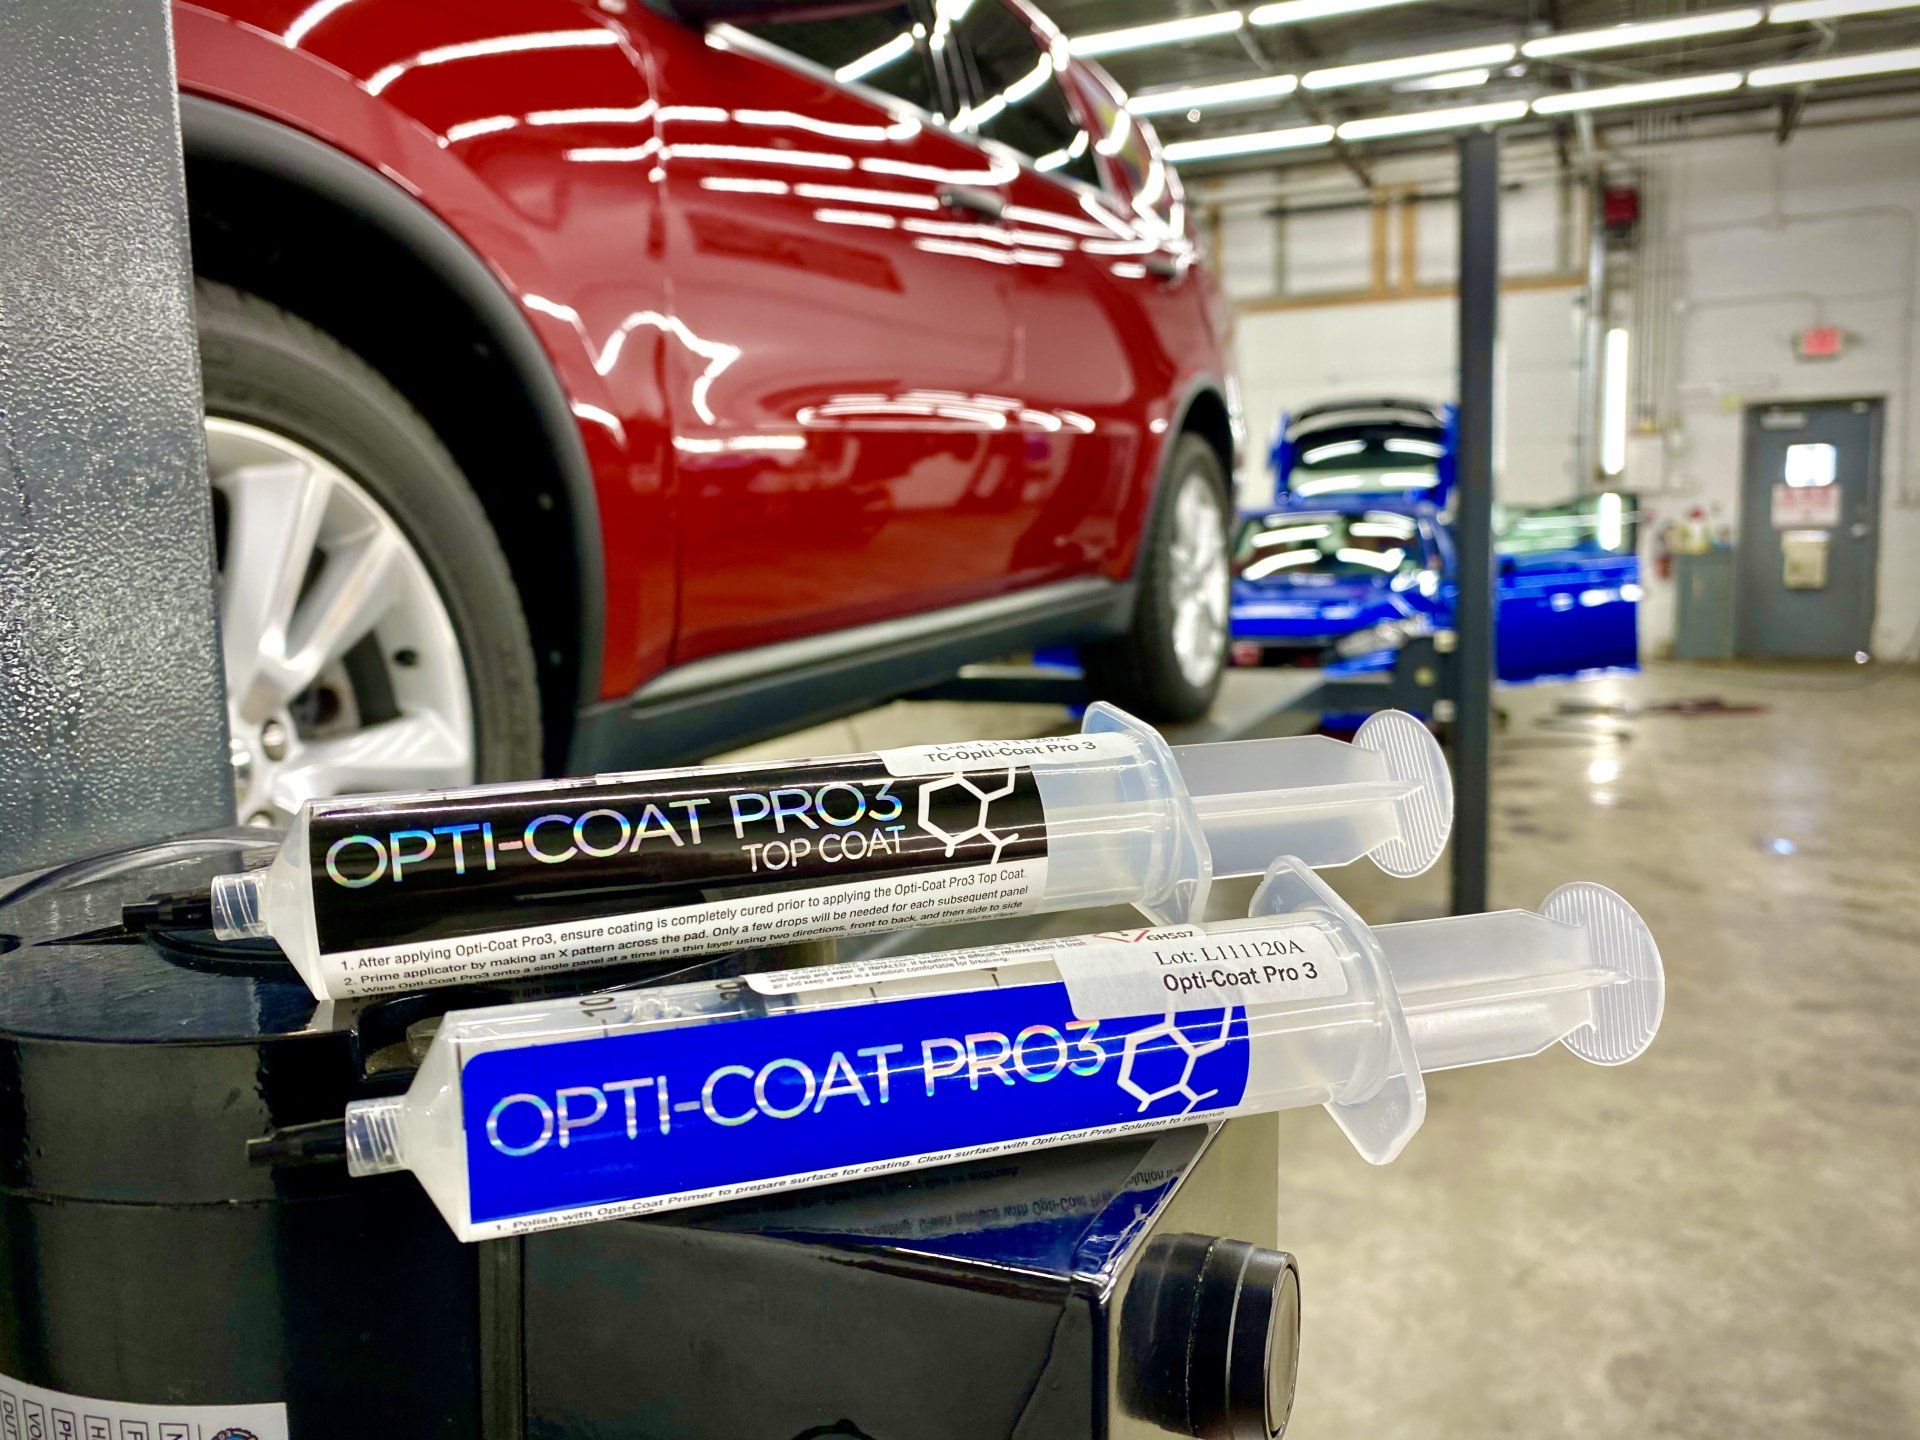
Not all tint adhesives are created equal, and this is where material quality makes a huge difference in long-term performance. Professional-grade tints use pressure-sensitive adhesives specifically engineered for automotive glass applications.
These adhesives are designed to cure properly in controlled temperature and humidity conditions. They need time to reach full bond strength—usually 24-48 hours—and they require specific installation techniques to activate properly. Cheap tints often use adhesives that grab quickly but don't form lasting bonds.
Quality tint films also have better dimensional stability, meaning they expand and contract at rates closer to glass. This reduces the stress that causes bubbling and peeling during temperature changes.
Professional Installation Environment Controls
This might surprise you, but where your tint gets installed matters as much as who installs it. Professionalwindow tinting facilities maintain controlled environments that eliminate variables that cause installation failures.
Temperature control is critical because adhesives cure differently at various temperatures. Too hot, and the adhesive sets before air bubbles can be removed. Too cold, and the adhesive doesn't activate properly, leading to poor initial adhesion that fails later.
Humidity control prevents moisture from interfering with the adhesive bond. High humidity can cause condensation between the film and glass, creating bubbles that are impossible to remove once the adhesive cures.
Dust and contamination control keep airborne particles from settling on the adhesive during installation. Even microscopic dust can create adhesion problems that show up as bubbles or haze later.
Installation Techniques That Ensure Long-Lasting Results
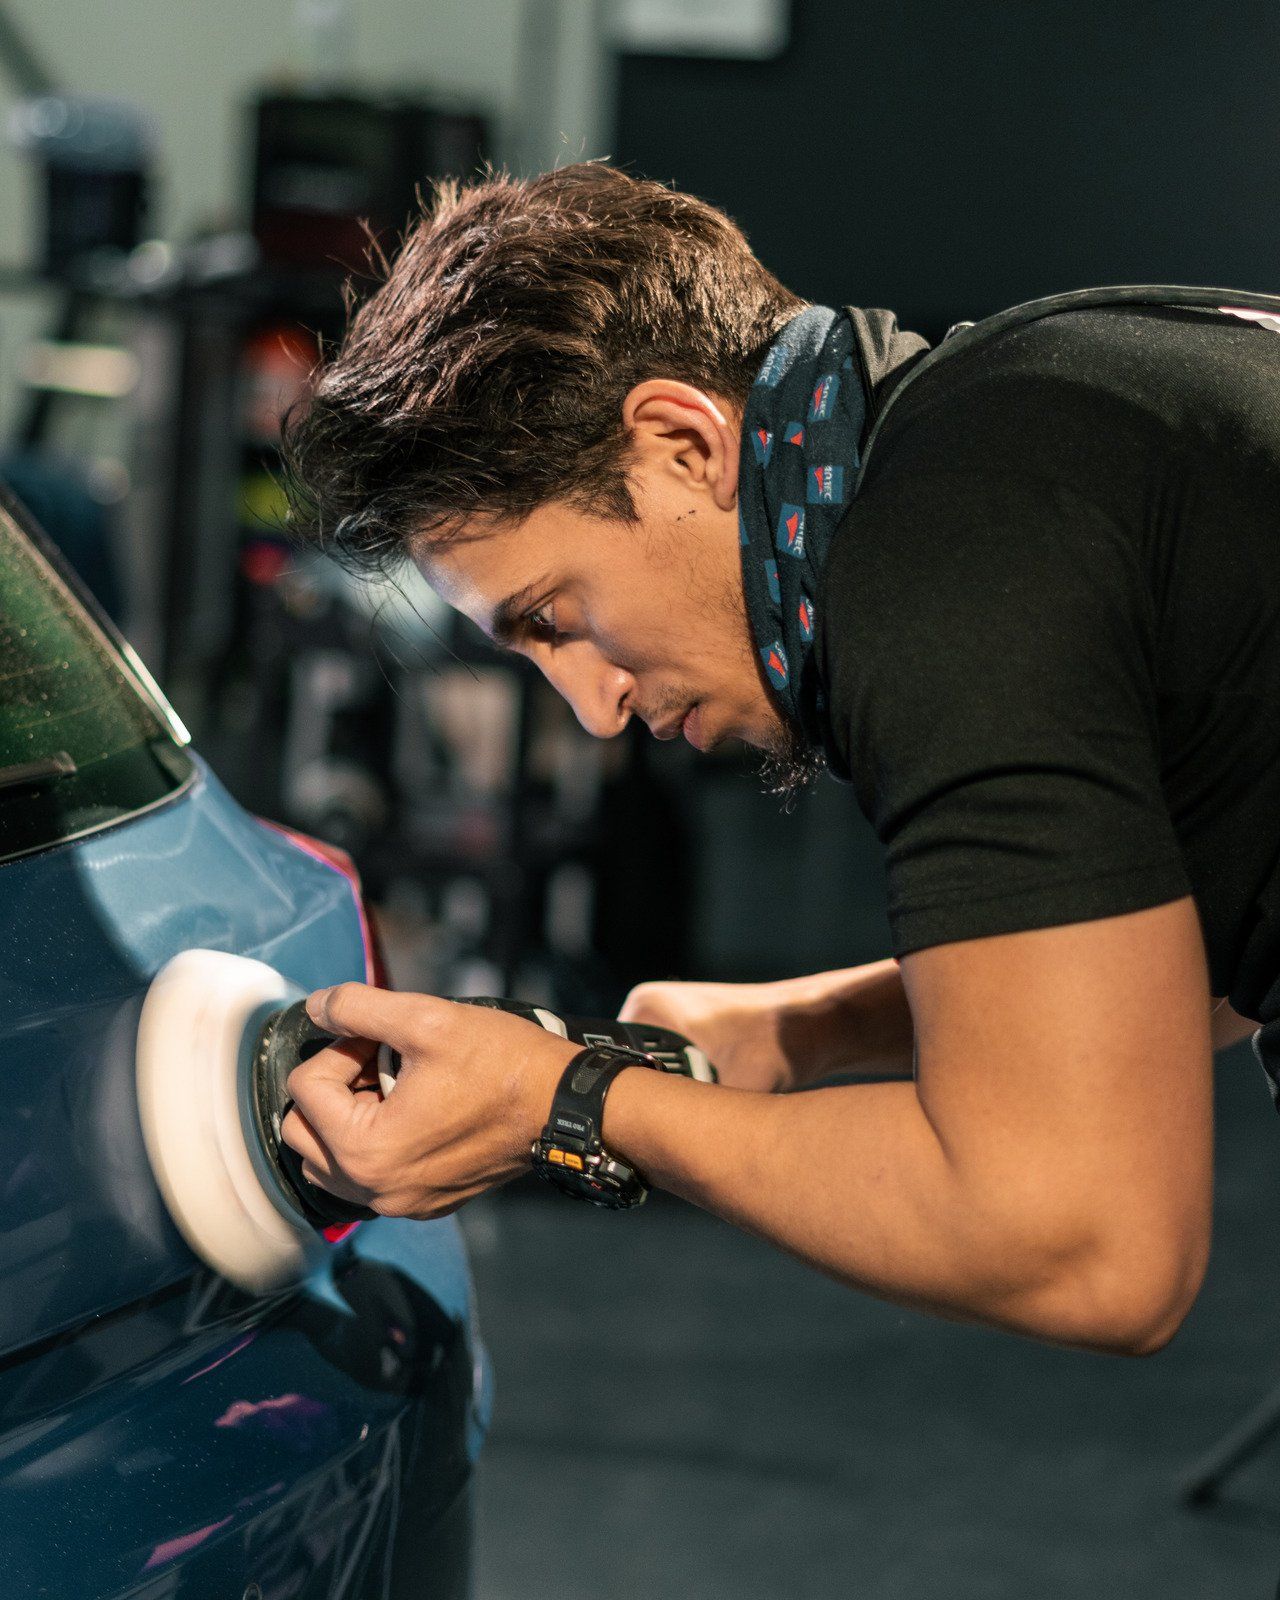
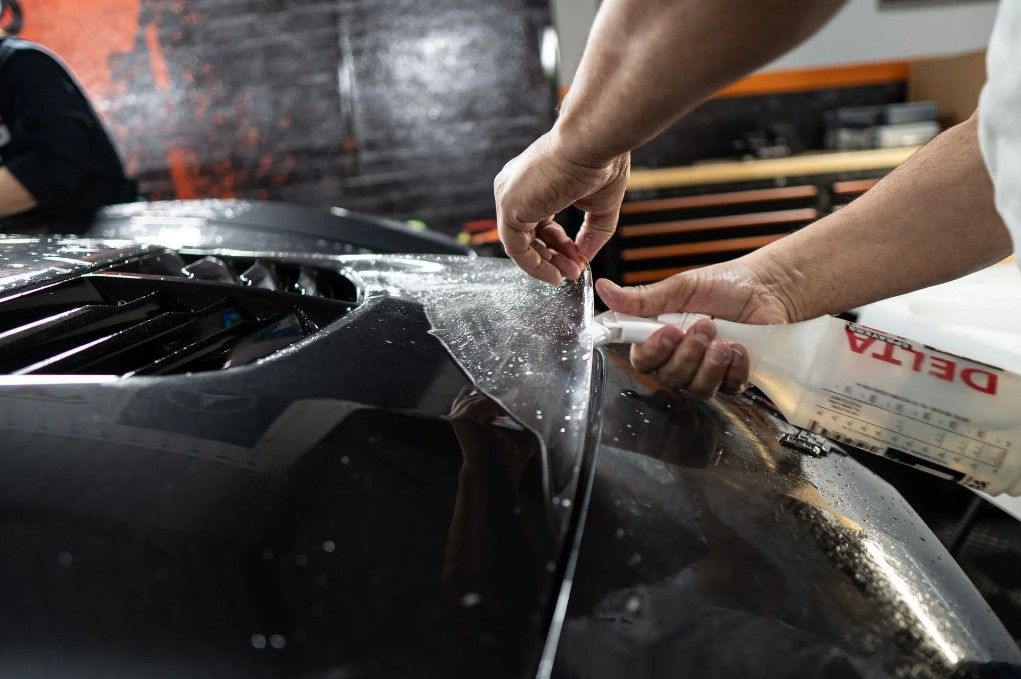
Professional installation techniques focus on creating perfect adhesion while eliminating trapped air and moisture. The film application process involves specific squeegee techniques, pressure patterns, and timing that ensure uniform adhesion across the entire surface.
Heat application is carefully controlled during installation. Professional installers use calibrated heat guns to activate the adhesive and conform the film to curved glass surfaces. Too much heat damages the film, while too little heat prevents proper adhesion.
Edge sealing techniques prevent moisture infiltration at the most vulnerable points. Professional installers use specific cutting and sealing methods that create weatherproof edges without compromising the film's integrity.
Why Professional Tools and Expertise Matter
Professional tint installation requires specialized tools that aren't available to consumers or budget installers. These tools ensure precise cutting, proper adhesion, and contamination-free installation that prevents future problems.
Cutting systems create perfectly sized pieces without the overcuts or gaps that cause edge failures. Professional templates and measurement tools eliminate the guesswork that leads to poor fits and premature failure.
Squeegees and application tools are designed specifically for automotive tint installation. They apply the correct pressure patterns needed for uniform adhesion while removing air bubbles that could cause problems later.
Quality Control Measures Used by Professional Installers
Professional installations include quality control steps that catch potential problems before they become expensive failures. Every installation gets inspected at multiple stages to ensure it meets performance standards.
Adhesion testing verifies that the film is properly bonded to the glass. Areas with poor adhesion get reworked before the installation is complete, preventing future bubbling or peeling.
Environmental testing ensures the installation can handle real-world conditions. Professional installers simulate temperature and humidity changes to verify the installation's stability before releasing the vehicle.
Protecting Your Investment Through Professional Installation
When you prevent car window tint bubbling through professional installation, you're not just buying tint—you're investing in a process that protects your investment for years. The difference in cost between professional and amateur installation is minimal compared to the cost of redoing failed tint work.
Missouri's climate extremes make professional installation even more critical. Temperature swings from freezing winters to scorching summers test every aspect of the installation, and only properly installed tint survives these conditions without developing problems.
The bottom line is simple—tint bubbling and peeling are installation problems, not product problems. Professional installers eliminate these issues through proper preparation, quality materials, controlled environments, and proven techniques.
If you're considering window tinting for your vehicle, don't let installation quality be an afterthought. Contact our team to discuss how proper installation techniques protect your investment and ensure lasting results.
Frequently Asked Questions
How long should professionally installed tint last without bubbling or peeling?
Quality tint installed by professionals should last 10-15 years without bubbling or peeling issues. The adhesive system reaches full cure within 48 hours and maintains its bond strength for decades when properly installed.
What environmental factors cause the most tint problems?
Temperature extremes and high humidity during installation cause the most problems. Missouri's climate swings require careful timing and environmental controls to ensure proper adhesive curing and long-term stability.
Can bubbling tint be repaired, or does it need complete replacement?
Minor edge bubbles can sometimes be repaired if caught early, but widespread bubbling typically requires complete replacement. The underlying adhesion problems that cause bubbling usually affect the entire installation.
How can I tell if my installer uses professional techniques and materials?
Look for controlled installation environments, warranties of 5+ years, and installers who discuss preparation and curing processes. Professional shops will explain their techniques and provide specific aftercare instructions.
What should I do if my tint starts bubbling within the first year?
Contact your installer immediately if bubbling appears within the warranty period. Quality installations shouldn't develop bubbles in the first year, and reputable installers will address warranty issues promptly.